
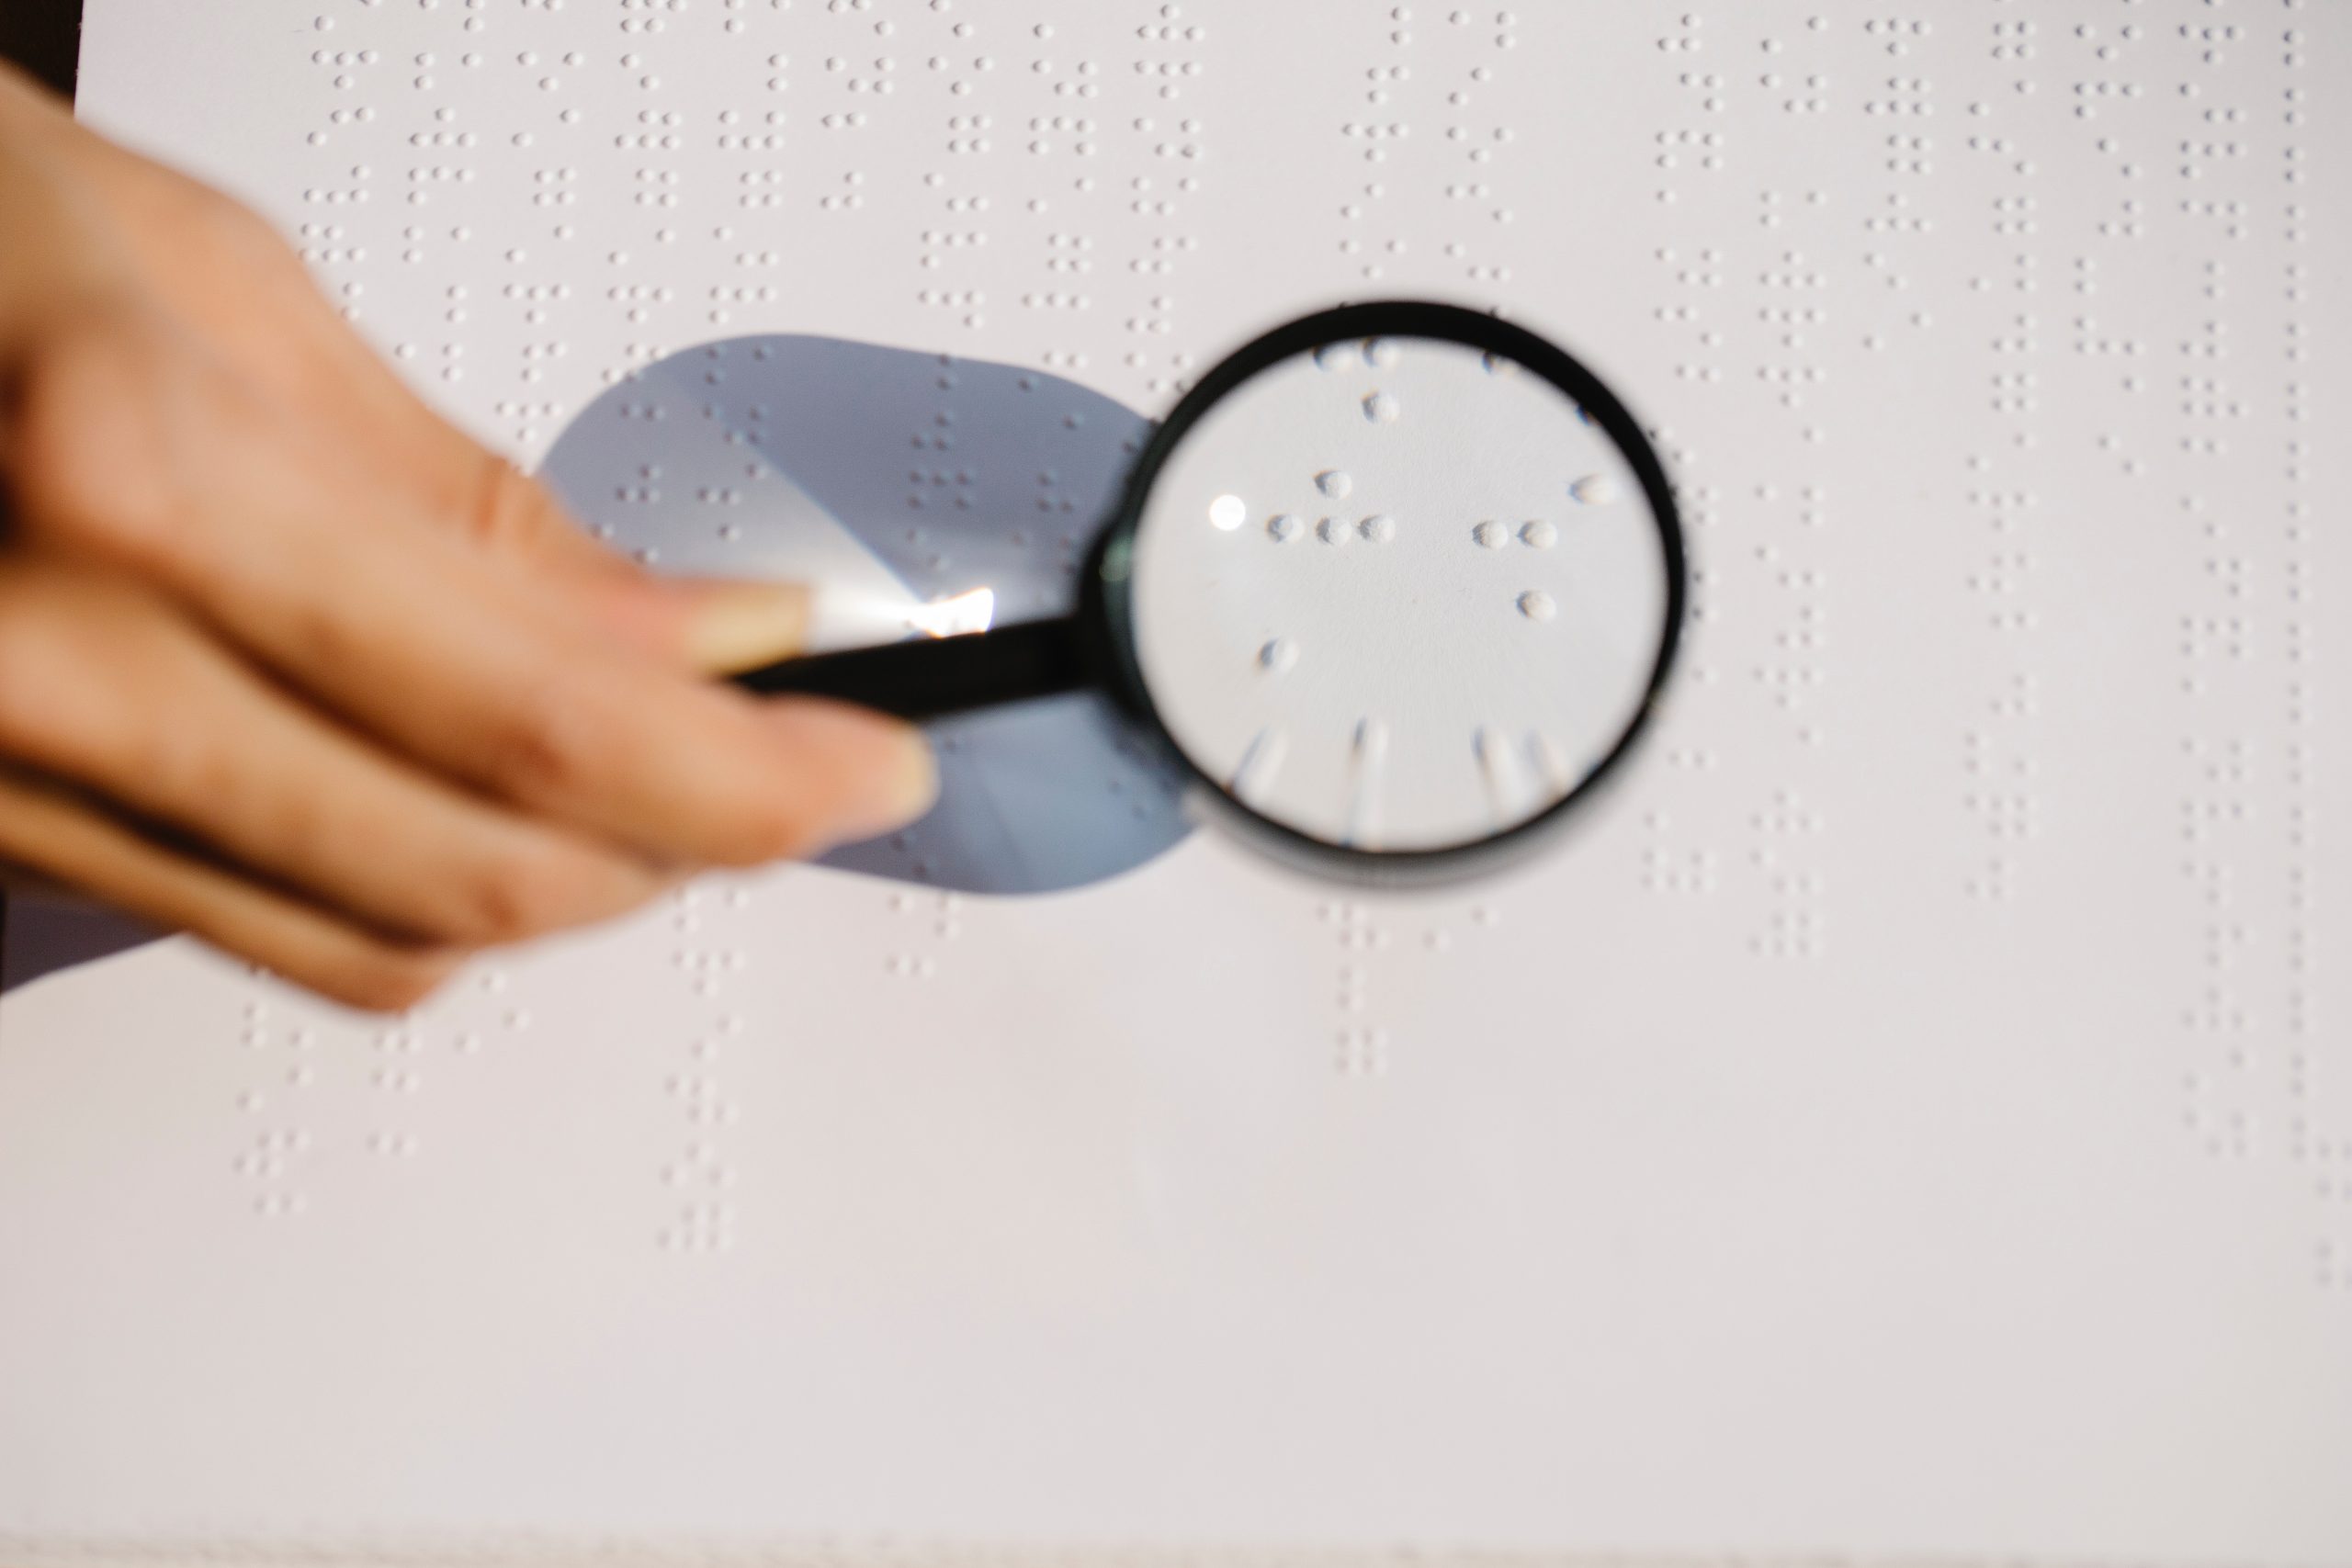
The World Health Organisation estimates that globally at least 2.2 billion people have a near or distance vision impairment. With screen times on the rise, this number is likely to increase.
When your content is not accessible to the visually impaired you are both excluding a group of people and locking out a potential set of readers, customers, or visitors to your website or place of business.
Vision impairments come in many different varieties and are often considered a ‘hidden disability.’ Typically when we think of someone with poor vision we think of the blind, however people with mild to severe visual impairments may rely on some form of accessibility tools when using a phone or computer.
In this article today, I will walk you through how you can make your website accessible to all, and give the freedom to the user to customise their own reading experience, including adjusting text size, contrast, and font.
The best part is no cost to you, only gains allowing your content to be consumed by a larger audience.
How Do I Get This Working?
Luckily for us, the hard work has been done for us and we can take advantage of a free plugin called ‘One Click Accessibility,’ it’s free and available from the WordPress repository.
How To Install?
You have two choices, either use the built-in plugin installer built into your WordPress dashboard or upload the plugin directly to your wp-contents/plugins/ folder.
- visit yourdomain.com/wp-admin and log in with your admin credentials. (replace ‘yourdomain.com’ with your actual site address.)
- From the left-hand side menu, find Plugins from the sidebar, and then select add new.
- Paste the following URL into the search bar. (https://wordpress.org/plugins/pojo-accessibility/) and press enter/search.
- One result should appear in the ‘add new plugin’ screen.
- Click install and activate.
Almost Done…..
- Take a moment to refresh your browser (F5 on Desktop, or CTRL/Command + R)
- You should now see a new menu option on the bottom left-hand side of your dashboard.
- Navigate to ‘Accessibility’ and modify the appearance of the plugin to best match your site.
I recommend that you keep the ‘wheelchair’ logo and the color blue, as it’s most recognisable for accessibility.